
You have your website with a contact form. Now you need to send the data from your form to the email. There are many ways on how you can achieve that. In this tutorial, we’ll cover one quite flexible and efficient solution. But it requires some work to do.
If you have a static (HTML, CSS and JavaScript) website, you can host it, even for free. Unfortunately, there is no way to send emails from the browser. It requires a back-end server that can handle the email sending process.
We’ll implement the “serverless” approach. It is very cheap (price starts from a few cents) and a scalable solution.
To do so, we’ll use the following services:
- Google Cloud Functions. Here we’ll create a PHP script. It will handle all the necessary email sending preparation logic. Also, in this function, we’ll store sensitive data to hide it from the public view.
- SMTP2GO. Email service provider, it will be responsible for sending email to your inbox.
- Templid. Every email must contain a subject and body (HTML or plain text). This tool allows us to create, store and manage different email templates for each form.
Let’s start.
HTML form
HTML forms can contain fields of various types.
The only requirement from this tutorial – form should have two hidden inputs.
One hidden field must be with the name “templateId”, for example:
<input name="templateId" id="template-id" value="6" type="hidden" />Later in this guide, we’ll cover email template creation using Templid. You will need to replace the value with the ID of the template. This way, you’ll “connect” your form data with the email template.
Another input is a so-called “honeypot” to protect your form. In this example, we are using the “puzzle” name for it:
<div style="display: none; visibility: hidden;">
   <input type="text" autocomplete="off" name="puzzle" id="puzzle">
</div>
You can check our guide on how to protect your form in this article: How to protect website HTML contact form from spam without captcha.
So, your final form will look like this:
<form action="URL_FROM_GOOGLE_CLOUD_FUNCTION" method="POST">
   <input type="text" name="name" id="name">
   <input type="email" name="email" id="email">
   <textarea name="question" id="question"></textarea>
   <input type="hidden" name="templateId" id="template-id" value="6" />

   <div style="display: none; visibility: hidden;">
       <input type="text" autocomplete="off" name="puzzle" id="puzzle">
   </div>

   <input type="submit" value="Send!">
</form>
Setup email service provider – SMTP2GO
To send emails, we will use the SMTP2GO service. It is free for up to 1000 email sends per month.
Go to https://www.smtp2go.com and create your account if you don’t have one.
Next, you’ll need to add your domain and verify it via DNS. We’ve created a step-by-step video guide on how to do that: https://youtu.be/Dvm72eA72To.
After your domain is set up and verified, you have to create SMTP credentials.
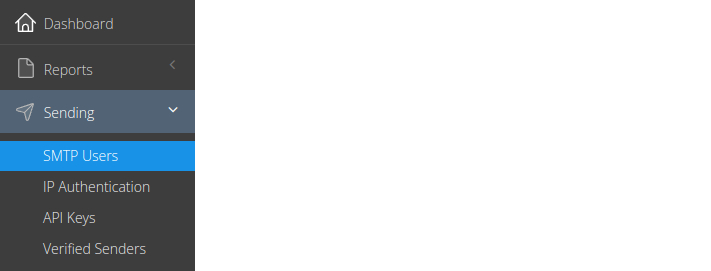
In your dashboard, go to “Sending → SMTP users”.
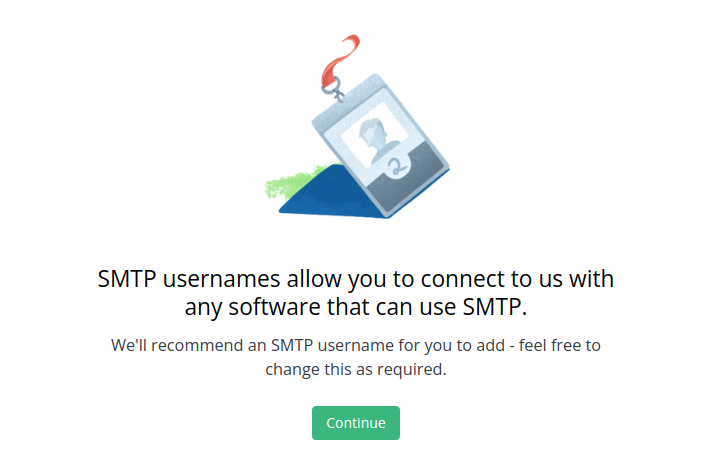
Click “Continue”.
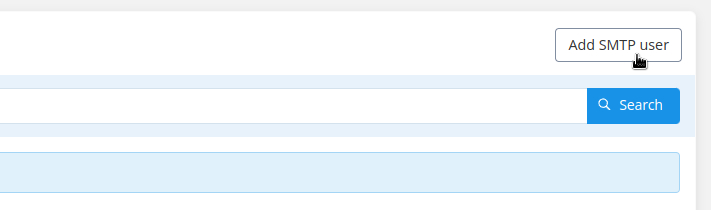
After the page will be loaded, click “Add SMTP user”.
Now you need to create your username and password. Also, you can add a description if you like. Click “Add SMTP user” to save the data.
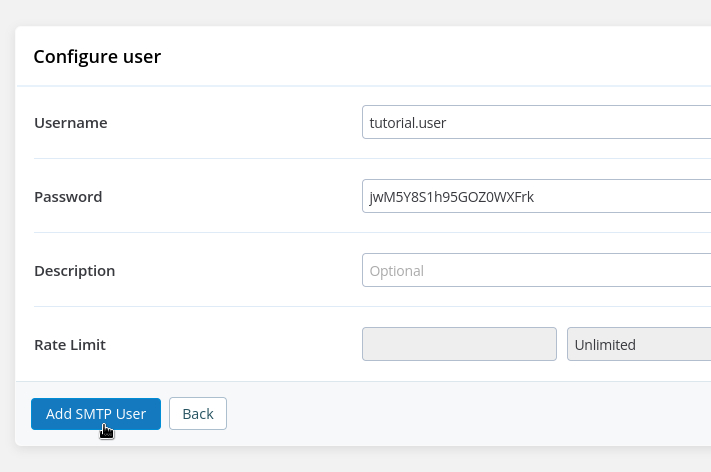
We will use these credentials in our PHP script later.
Store your email templates in Templid
We will use Templid to manage email templates. You can create templates with dynamic variables ({{variable_name}}) that will be replaced with the input values from the form. For example, if you have input with the name “company”, you can add {{company}} anywhere int the template, and it will be substituted with the value from your form.
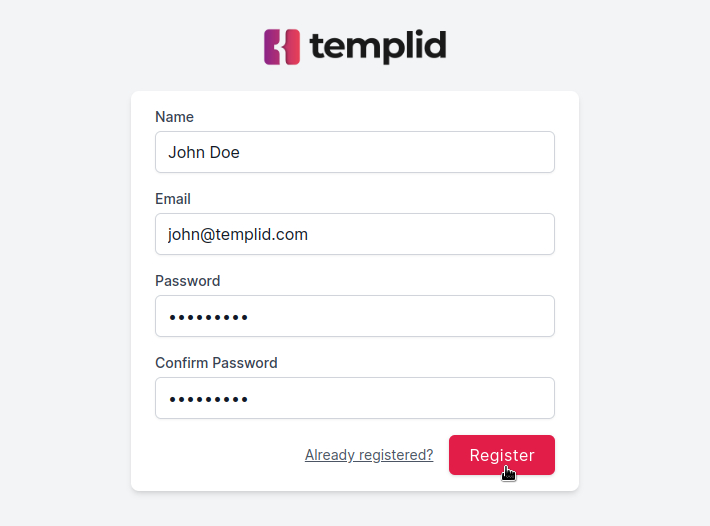
Go to https://templid.com and click “Register”.

Fill the form with your details and click “Register”.
A confirmation email will be sent to your address, click the link to approve the registration.
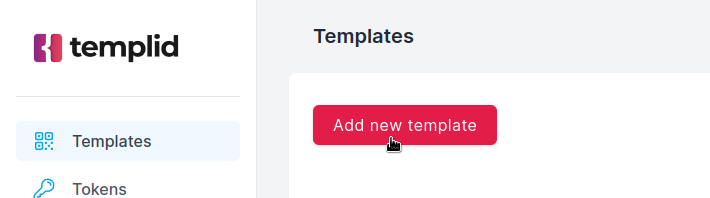
In the dashboard, click “Templates → Add new template”.
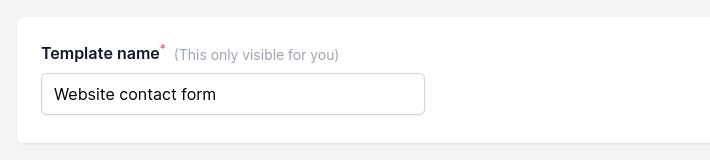
Here you’ll need to create the template. You can type any name in the “Template name”, this is only visible to you.
The subject can also contain dynamic variables like {{some_variable}}, so it will be replaced with data from your form.
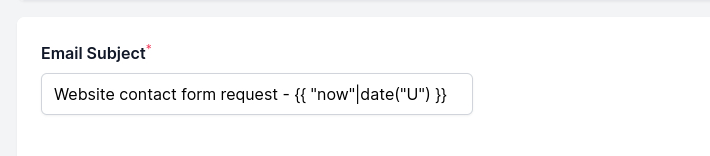
We recommend using some unique value in the subject, so these emails will not be merged in the email client like Gmail.

As shown in the example above, you can use the following subject:
Website contact form - {{"now"|date("U")}}You don’t need to add any specific field to your form, {{“now”|date(“U”)}} will be replaced with the timestamp value automatically, which is changing every second.
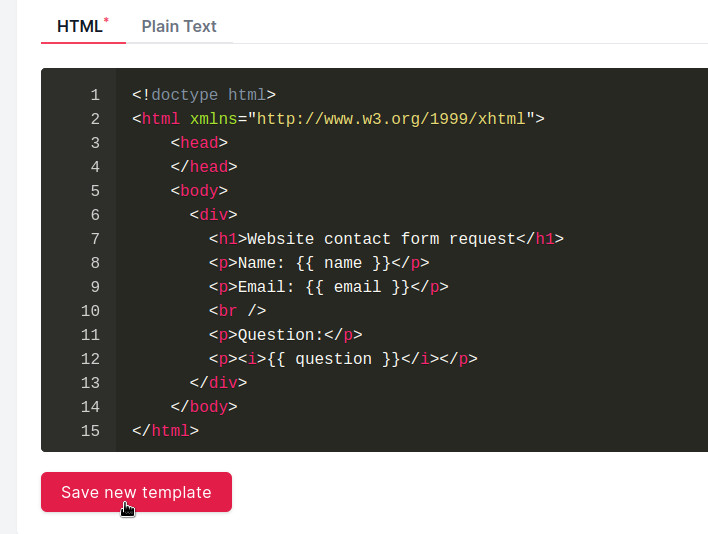
For the HTML template, you can use any email template builder (we recommend MJML). Or you can write your HTML from scratch.
Plain text is optional, it is needed if your email client does not support HTML.
After you create your template, click “Save new template”.
Now copy the template ID and add hidden input to your form with the name “templateId” as shown in the example above.
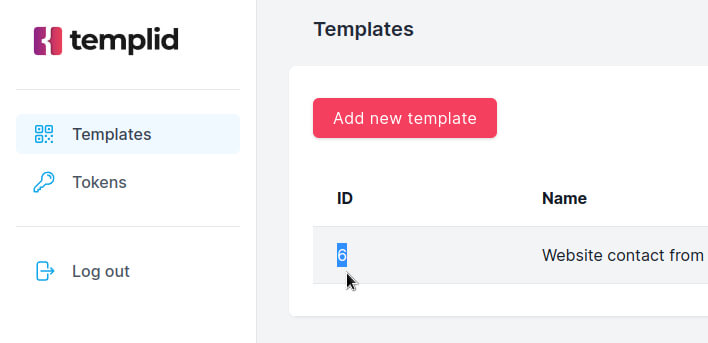
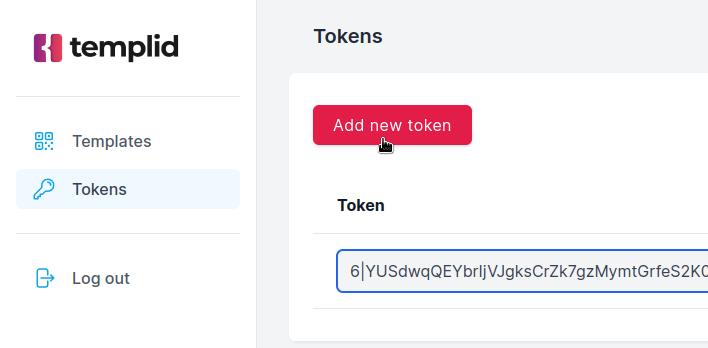
<input name="templateId" id="template-id" value="6" type="hidden" />Next, click on the “Tokens” in the left bar.
After the page is loaded, click “Add new token”, this will generate an API token for you. You will need this in your Google Cloud Function script later.
If you have multiple forms on your site with different inputs, you can create templates for each form.
Google cloud function code in PHP
Why do we need this?
All your website HTML, JavaScript and CSS are publicly visible in the browser. This means that anyone can access it and even manipulate it though the inspect element.
To protect your form and sensitive data, we need a “back-end” solution. Something that can be hidden from the public view. For this purpose, we’ll use Google Cloud Functions.
In this guide, we’ll write code with PHP language. The script will:
- validate form data;
- build an email content;
- send it via SMTP.
Inside this function, we also will store sensitive data, like recipient email, SMTP credentials and other information that must be hidden from public view.
This will be the only part that will cost you a few cents from the beginning (~$0.05/month).
You will be able to create different forms across your website and use the same script to send the data to your email. Please leave a comment below, if you want to see an example with multiple forms.
Let’s build our first Google Cloud Function.
Go to https://cloud.google.com and login with your Google account.
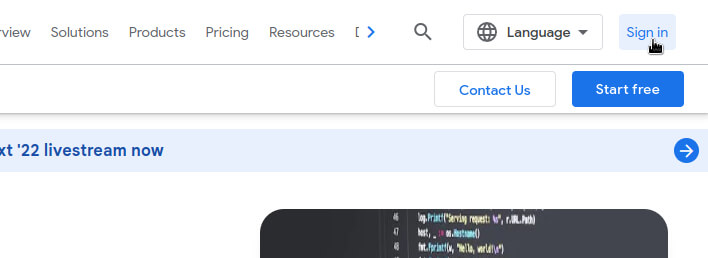
After you log in, you should be able to view your console dashboard at https://console.cloud.google.com. You might be asked to add your billing details before you can start.
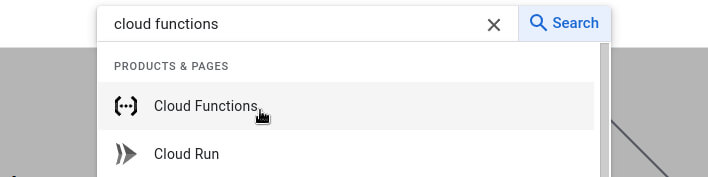
In the top search bar, type “cloud functions” and click the product called “Cloud functions”.
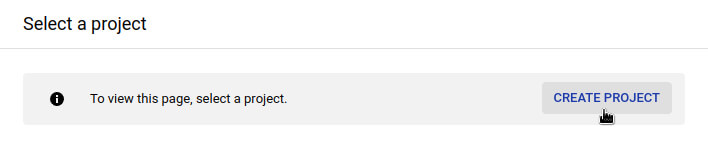
If you log in for the first time, you will be asked to create a new project. Click the button “CREATE PROJECT” and continue with the instructions.
Next, click the “CREATE FUNCTION” button.

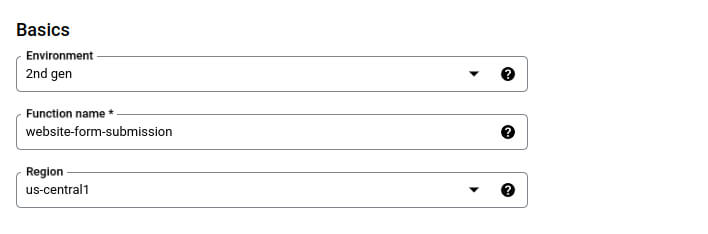
For the environment, choose option “2nd gen”.
In the “Function name” type any name you want, this part will be visible only to you.
For the “Region” choose the “us-central1” option.
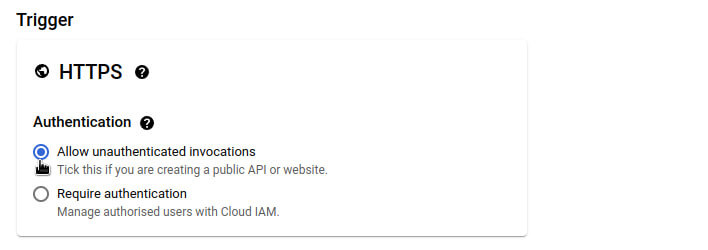
Under the “Authentication” select the “Allow unauthenticated invocations” option.
Click on “Runtime, build, connections and security settings” to expand more options.

Type 30 In the “Timeout” input.
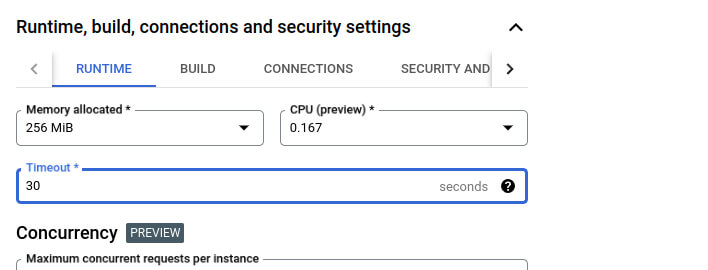
Under the “Auto-scaling” in the “Maximum number of instances” type 10. This one is important. Because you can call this function up to 2 million times per month at no extra fees. In case you will have a spike in form submissions, a tight limit of instances will prevent you from unexpected costs.

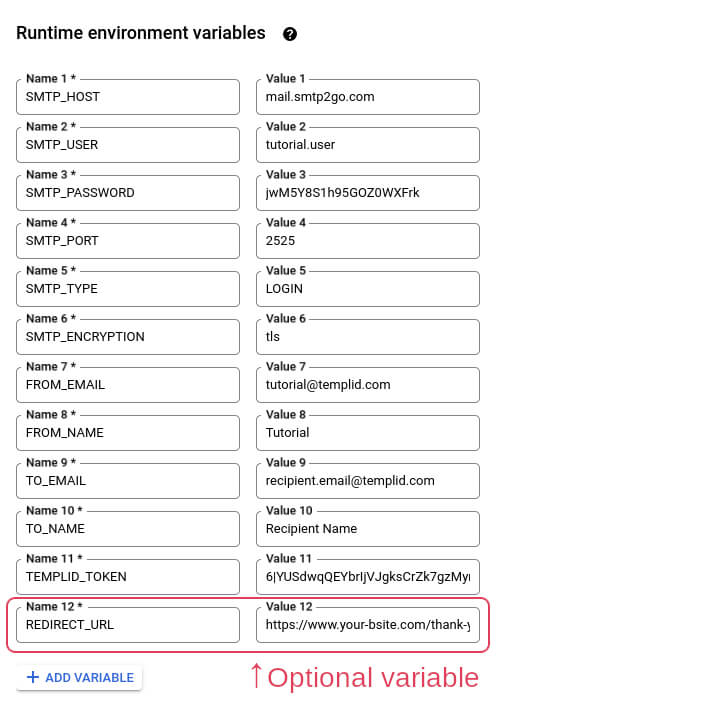
Next, click “+ ADD VARIABLE” button under the “Runtime environment variables”.

We need to add the following variables:
| Name | Value |
|---|---|
| SMTP_HOST | mail.smtp2go.com |
| SMTP_USER | Your username created earlier |
| SMTP_PASSWORD | Password for the user |
| SMTP_PORT | 2525 |
| SMTP_TYPE | LOGIN |
| SMTP_ENCRYPTION | tls |
| FROM_EMAIL | Any email with your domain verified in the SMTP2GO |
| FROM_NAME | Any name |
| TO_EMAIL | This can be any email address because it will receive the message |
| TO_NAME | Any name |
| TEMPLID_TOKEN | Token generated in the Templid dashboard |
| REDIRECT_URL | (optional) Set this value to redirect the visitor to your “Thank you” page after successful form submission. If you are using AJAX (JavaScript) to submit the form, do not include this variable. The function will return string {“status”: “ok”} if no REDIRECT_URL is set. |
Click “Next”.

Select “PHP 8.1” under the “Runtime”.
Change the name of the “Entry point” to “email”.
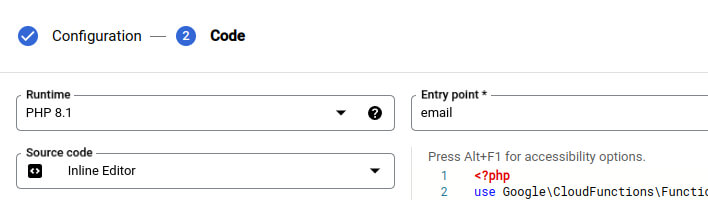
Now let’s edit the code. Select the file “composer.json” and paste the following code:
{
  "autoload": {
    "psr-4": {
      "App\\": "app/"
    }
  },
  "require": {
    "google/cloud-functions-framework": "^1.1",
    "guzzlehttp/guzzle": "^7.2",
    "phpmailer/phpmailer": "^6.7.1"
  }
}
Go to the “index.php” file and paste the following code:
<?php

header('Content-Type: application/json');
header('Access-Control-Allow-Origin: *');

use App\Mailer;
use App\Fetcher;
use App\RequestDataValidator;
use Psr\Http\Message\ServerRequestInterface;
use Google\CloudFunctions\FunctionsFramework;

FunctionsFramework::http('email', 'email');

/**
* @param ServerRequestInterface $request
*
* @return string
*/
function email(ServerRequestInterface $request): string
{
  if ($request->getMethod() !== 'POST') {
    header('Access-Control-Allow-Methods: POST,OPTIONS');
    http_response_code(204);
    exit;
  }

  $data = RequestDataValidator::validate($request);

  if (!empty($data['puzzle'])) {
    return '{"status": "ok"}';
  }

  $templateId = (int) $data['templateId'];

  $template = Fetcher::fetch($templateId, $data);

  Mailer::send($template);

  $redirectUrl = getenv('REDIRECT_URL') ?? null;

  if ($redirectUrl) {
    header('Location: ' . $redirectUrl);

    die();
  }

  return '{"status": "ok"}';
}
The index.php is the main file where we “orchestrate” all the flow after the form is submitted.
First, it’ll check if the request has a valid method. This script will continue to execute only with the POST method. Otherwise, it will return an empty response.
Next, we call the class RequestDataValidator with the method validate to check if the data from the form has all the needed values.
After that, we check for the “honeypot” field. In case this field is not empty, we return a success message and do not execute further code. This will prevent sending emails if the form was submitted by a spambot. You can read more about this in our article on how to protect your HTML form.
Next, we render and fetch the template for the email subject and body.
And finally, we send the email.
All the files below must be created in the “app” directory.
Click the “+” icon.

Ttype “app/RequestDataValidator.php”.

Inside this file, paste the following code:
<?php

declare(strict_types=1);

namespace App;

use Exception;
use Psr\Http\Message\ServerRequestInterface;

class RequestDataValidator
{
  /**
   * @param ServerRequestInterface $request
   *
   * @return array
   */
  public static function validate(ServerRequestInterface $request): array
  {
    $data = $request->getParsedBody() ?? [];

    if (!isset($data['templateId'])
      || (int) $data['templateId'] === 0
    ) {
           throw new Exception('Missing or invalid template ID');
    }

    return $data;
  }
}
In this file, we are validating the form data. We only check if the template ID is set because we need this to fetch the template from Templid.
You can add any additional data validation here if you need.
Again, click the “+” icon and type “app/Fetcher.php” and paste the following code:
<?php

declare(strict_types=1);

namespace App;

use Exception;
use GuzzleHttp\Client;
use GuzzleHttp\Psr7\Request;
use Psr\Http\Message\ResponseInterface;

class Fetcher
{
  protected const TEMPLID_API_URL = 'https://api.templid.com/v1/';
  protected const MAX_RETRIES     = 3;

  /**
   * @param array $data
   *
   * @return TemplateDto
   */
  public static function fetch(
    int $templateId,
    array $data = []
  ): TemplateDto {
    $request = new Request(
      'POST',
      sprintf('templates/%s/render', $templateId),
      [
        'Content-Type'  => 'application/json',
        'Authorization' => sprintf('Bearer %s', getenv('TEMPLID_TOKEN')),
      ],
      json_encode($data),
    );

    $response = self::sendRequest($request);

    $template = json_decode($response->getBody()->getContents());

    return new TemplateDto(
      subject: $template->subject,
      html:    $template->html,
      text:    $template->text
    );
  }

  /**
   * @param Request $request
   *
   * @return ResponseInterface
   */
  protected static function sendRequest(
    Request $request
  ): ResponseInterface {
    $client = new Client(['base_uri' => self::TEMPLID_API_URL]);

    $attempts = 0;

    do {
      try {
        $response = $client->send($request);

        ResponseValidator::validate($response);

        return $response;
      } catch (RateLimitException $e) {
        sleep(1);

        $attempts++;
      }
    } while ($attempts < self::MAX_RETRIES);

    throw new Exception('Unable to fetch template');
  }
}
Here we are rendering our template. We send the form data to the Templid using API and get the email subject, HTML and plain text with all the fields set in the template.
Create file “app/ResponseValidator.php” with code:
<?php

declare(strict_types=1);

namespace App;

use Exception;
use Psr\Http\Message\ResponseInterface;

class ResponseValidator
{
  protected const ERROR_MESSAGES = [
    401 => 'Unauthorized',
    404 => 'Template not found',
    429 => 'Too many requests',
  ];

  /**
   * @param Response $response
   *
   * @return void
   */
  public static function validate(
    ResponseInterface $response
  ): void {
    $statusCode = $response->getStatusCode();

    if ($statusCode === 200) {
      return;
    }

    $errorMessage = self::ERROR_MESSAGES[$statusCode] ?? 'API error';

    $statusCode === 429
      ? throw new RateLimitException($errorMessage)
      : throw new Exception($errorMessage);
  }
}
In this file, we are validating the response from the Templid API and throwing appropriate exceptions if needed.
Create file “app/RateLimitException.php” with code:
<?php

declare(strict_types=1);

namespace App;

use Exception;

class RateLimitException extends Exception
{}
We need this file to retry the fetching template. Templid API has rate limits, so there might be cases when we need to repeat the request. This exception will be our indicator on when we need to retry the request.
Create the file “app/TemplateDto.php” with code:
<?php

declare(strict_types=1);

namespace App;

class TemplateDto
{
  /**
   * @param string $subject
   * @param string $html
   * @param string $text
   */
  public function __construct(
    protected string $subject = '',
    protected string $html    = '',
    protected string $text    = '',
  ) {}

  /**
   * @return string
   */
  public function getSubject(): string
  {
    return $this->subject;
  }

  /**
   * @return string
   */
  public function getHtml(): string
  {
    return $this->html;
  }

  /**
   * @return string
   */
  public function getText(): string
  {
    return $this->text;
  }
}
This is our Data Transfer Object that will contain all the email content. This class takes values from the Templid API and transfers it to the email sending class below.
Create one more file: “app/Mailer.php” and paste the following code:
<?php

declare(strict_types=1);

namespace App;

use PHPMailer\PHPMailer\PHPMailer;

class Mailer
{
  /**
   * @param TemplateDto $template
   *
   * @return void
   */
  public static function send(
    TemplateDto $template
  ): void {
    $mail = new PHPMailer(true);

    $mail->isSMTP();
    $mail->Host       = getenv('SMTP_HOST');
    $mail->SMTPAuth   = true;
    $mail->AuthType   = getenv('SMTP_TYPE') ?? 'LOGIN';
    $mail->Username   = getenv('SMTP_USER');
    $mail->Password   = getenv('SMTP_PASSWORD');
    $mail->SMTPSecure = getenv('SMTP_ENCRYPTION') ?? 'ssl';
    $mail->Port       = getenv('SMTP_PORT') ?? 465;

    $mail->setFrom(getenv('FROM_EMAIL'), getenv('FROM_NAME'));

    //Recipients
    $mail->addAddress(getenv('TO_EMAIL'), getenv('TO_NAME'));

    //Content
    $mail->isHTML(true);
    $mail->Subject = $template->getSubject();
    $mail->Body    = $template->getHtml();
    $mail->AltBody = $template->getText();

    $mail->send();
  }
}
This file will prepare and send email using SMTP.
Now click “Deploy” and wait a few minutes until your function will be ready.

After your function is deployed, copy the link and paste it as your form’s action parameter.

<form action="https://some-function-name.a.run.app" method="POST">Your form will now submit the data and email will be sent to your inbox.
Conclusion
Respect to you, if you’ve made this tutorial to the end! We hope this guide was helpful.
Please leave your comment below if you have any questions.
Write your comment